React Native with Typescript
In this post I will describe how to setup a simple Typescript project for React Native app with Redux and Thunks. All of these tools are widely used, thouroughly documented, open source and with very active communities, but despite that it may be a challenge to wire them up correctly. Especially if you are just starting with Typescript.
There are three main reasons it can be difficult to set up a React Native project with Typescript:
-
Type definitions for packages often lag behind releases.
Many packages have a separate package for types, which can be (and often is) maintained by different author than the original package. How fast the types package keeps up with the original package varies a lot.
-
Typescript’s error messages can often be cryptic or just plain misleading, but it gets easier as you get more experienced with Typescript and various typings packages.
-
Authors of various typings packages tend to make breaking changes on minor version bumps.
Therefore, if you struggle with typing errors even though you’re following simple redux-related tutorials, you probably can fix them by downgrading a dependency or its type definitions.
Start with official guide
Here’s the Github repo of this project, if you want to jump straight into the code.
Let’s start with the official guide. Select ‘Building Projects with Native Code’ tab and install dependencies for the chosen platform (Android and/or iOS). However, stop at ‘Creating a new application’ section. In that section the recommendation is to run following init command:
react-native init AwesomeProject
Which is fine in general, but we want to init the new project with Typescript support. Therefore, run following command instead:
react-native init ReactNativeRedux --template typescript
After the command finishes, go into the newly created project directory and run:
node setup.js
This will remove unused files and add tsc command. To verify this setup, let’s run typescript compiler:
$ yarn tsc
yarn run v1.13.0
$ tsc
✨Done in 2.84s.
Great, no errors. Now start the emulator and verify that the app builds and runs:
react-native run-android
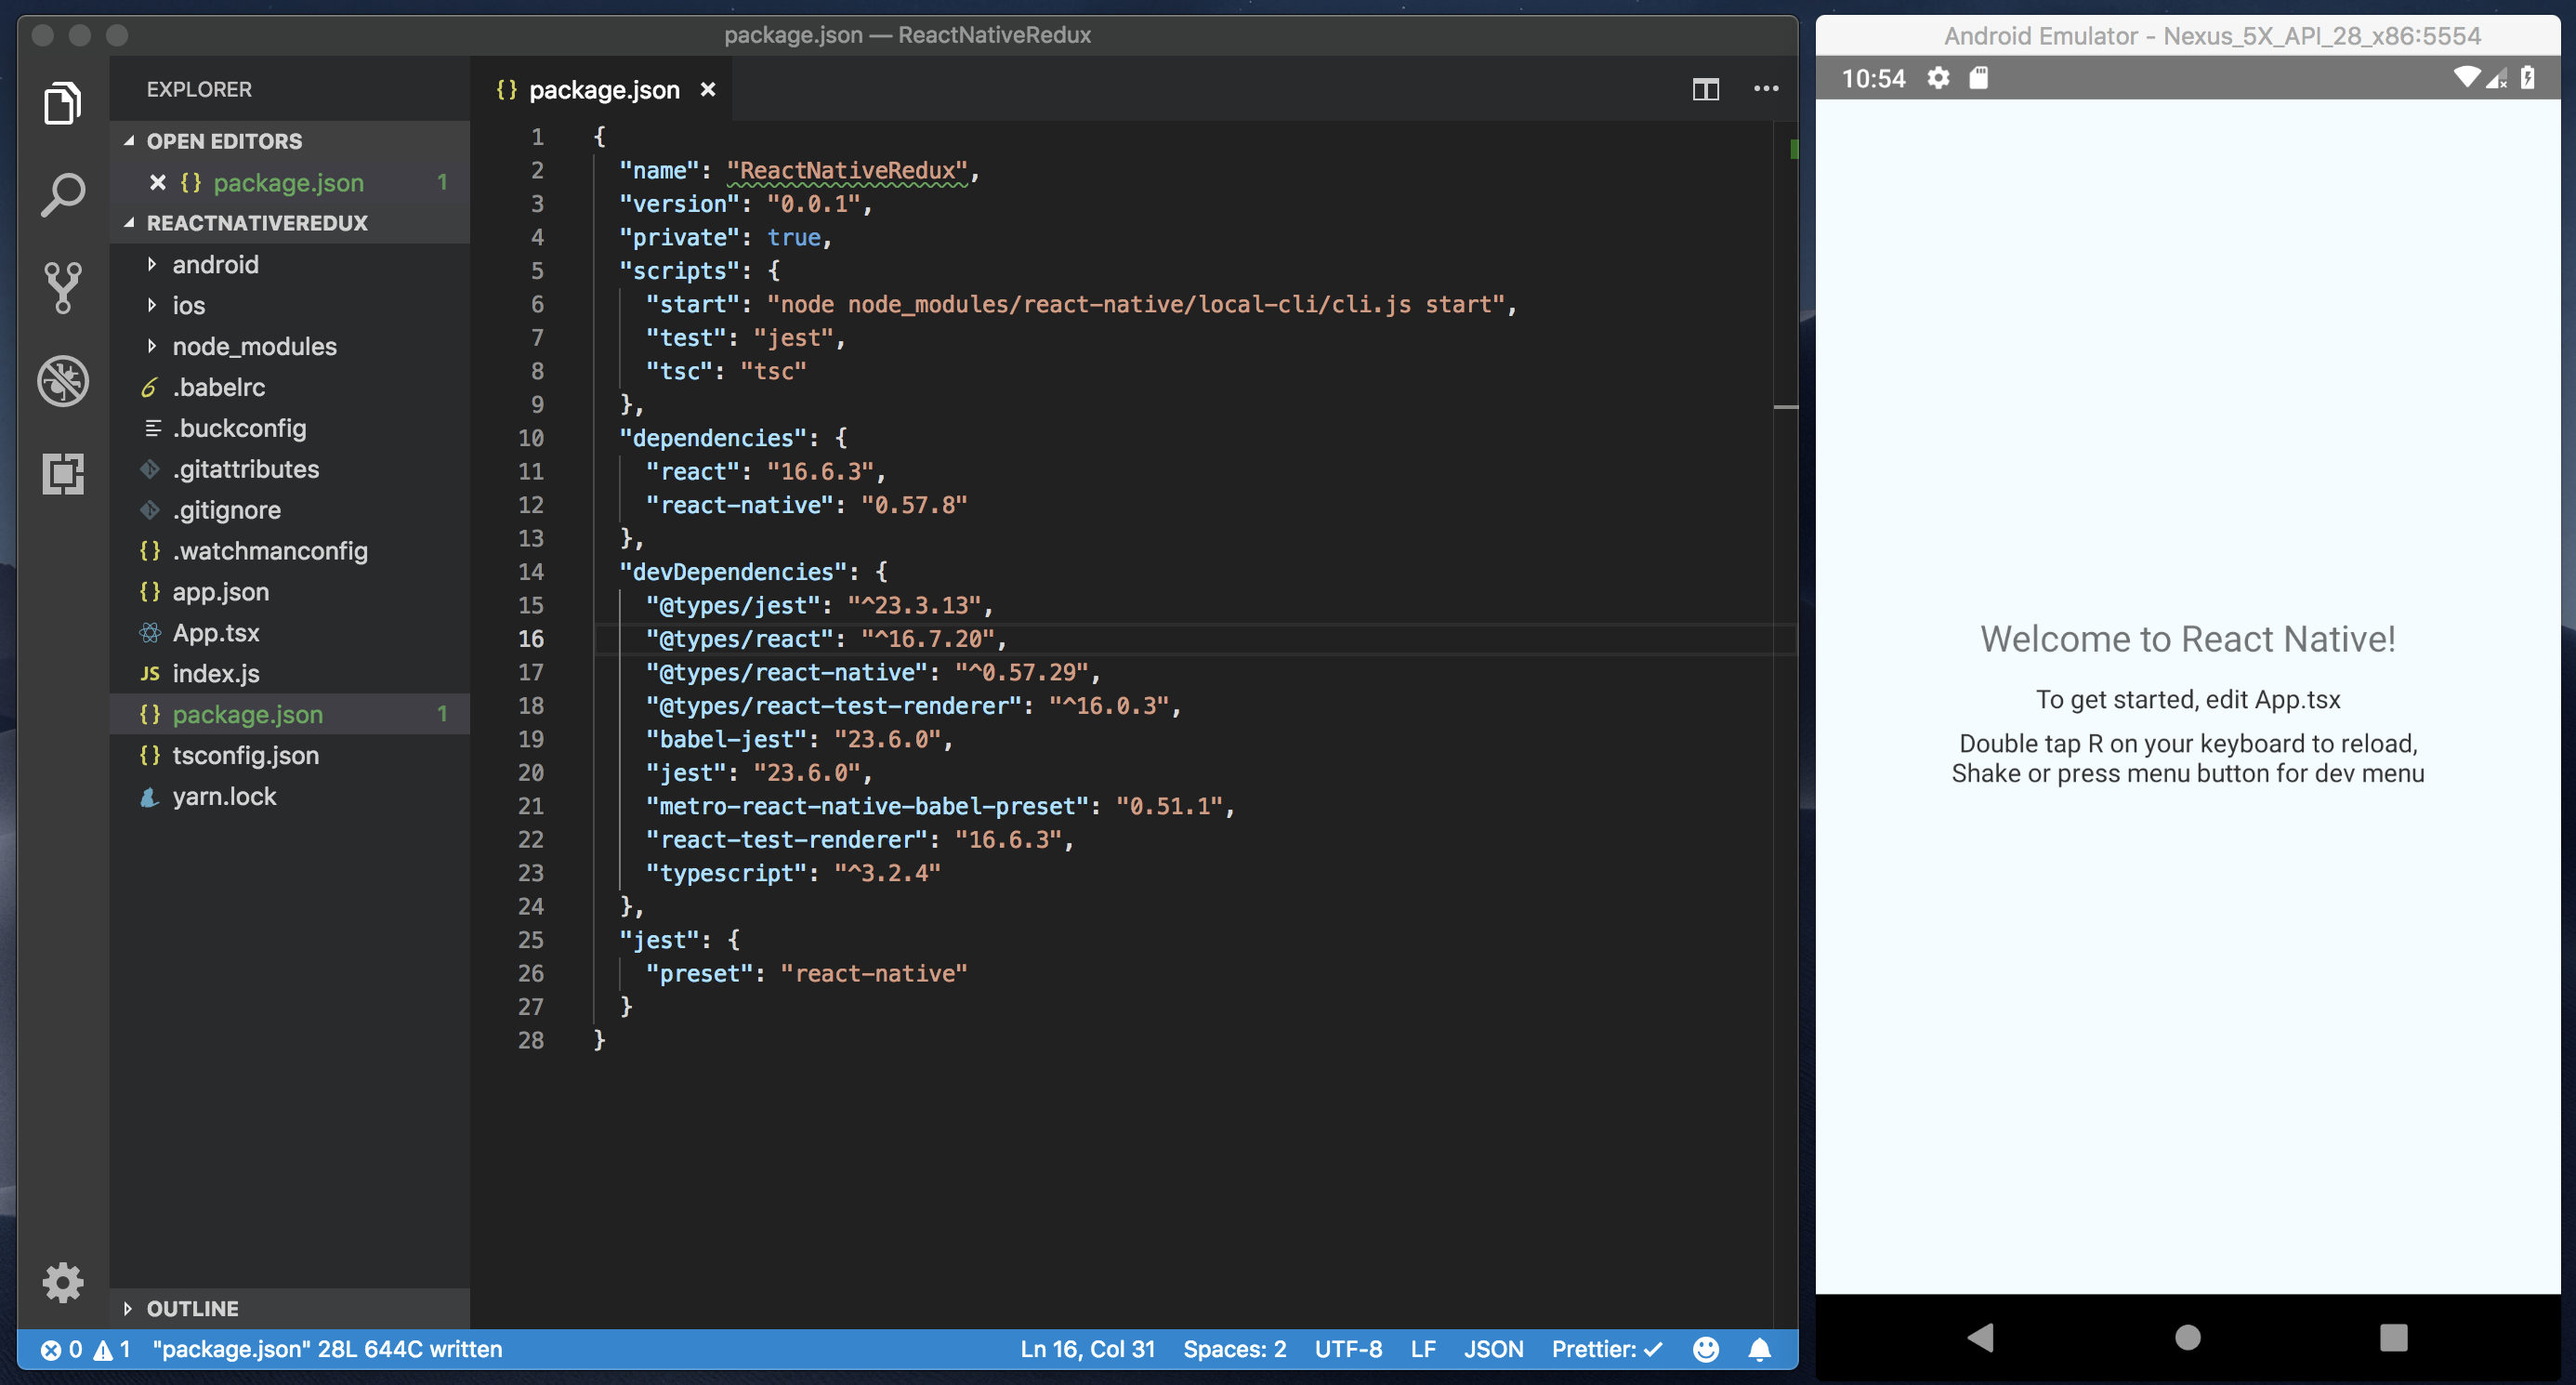
I’ve done the same and this is how it looks (VS Code + android emulator):
Dive into redux
Time to add redux and react-redux:
yarn add redux react-redux
and type definitions:
yarn add -D @types/react-redux
We don’t need to add a separate @types dependency for redux, because it already includes the types.
Having redux in the project, we can start using it! Let’s add a button with onPress event. When user presses the button the app should display current time. What will happen behind the scene:
- Button press will fire off a redux action.
- Action will update redux store.
- This will trigger render of App component, which will display current time due to changed state.
Sounds simple and hopefully the solution will be simple, too. To begin with, we need to translate the points above into more actionable tasks:
- Add Redux store with an action and a reducer.
- Wire the App component with redux store.
- Add a button that fires off our redux action.
First, we will create a new file store.ts with our implementation for the store. We need one action, one reducer to update the application state and then the store itself:
import { Reducer, createStore, Store } from "redux";

export enum Actions {
  GetTime = "GET_TIME"
}

export interface ApplicationState {
  currentTime: Date | null;
}

const initialState: ApplicationState = {
  currentTime: null
};

const reducer: Reducer<ApplicationState> = (state = initialState, action) => {
  switch (action.type) {
    case Actions.GetTime:
      return {
        currentTime: new Date()
      };
    default:
      return state;
  }
};

export default (): Store<ApplicationState> => createStore(reducer);
There are multiple things going on in this file:
- First we have an
enumto define our action. - Then we define interface
ApplicationStatethat has single property for current time. So, our application will have very minimalistic state. Note the type of current time property isDate | null. If we just hadDateas a type, then we couldn’t have set the property to null in theinitialStatevariable. - The reducer is your vanilla reducer, except that it’s typed, so it must return object of type
ApplicationState. We use enum in the switch statement - we can do that, because redux’s action types are just strings, the same as our enum values. - Finally, we export the function to create our store. It just calls
createStore()function from redux, but notice again that it’s typed. This means, for example, that the dispatch functions will be typed as well (as we’ll see later in the App component).
In a real world app you’ll want to split actions and reducers into separate modules. Maybe center them around screens and features.
Now that we’ve implemented a minimal redux store, it’s time to go to our main App component. Open App.tsx and see that the generated source is quite simple: App component that renders some text and associated styles object. Our task is to connect the App component to redux store and extend the render() function to include a button. Let’s go step by step:
-
The
Propsinterface is empty. We need to add two properties, one for current time and one to trigger ‘GetTime’ action. We could just add both to thePropsinterface, however it’s better to split the interface into two, one holding regular props, the other just the props to trigger actions:interface StateProps { currentTime: Date | null; } interface DispatchProps { getTime: () => void; } type Props = StateProps & DispatchProps; -
The
render()function needs to have a button and should also display current time if it’s available:class App extends Component<Props> { render() { const { currentTime, getTime } = this.props; return ( <View style={styles.container}> <Text style={styles.welcome}>Welcome to React Native!</Text> <Text style={styles.instructions}> To get started, edit App.tsx </Text> <Text style={styles.instructions}>{instructions}</Text> <TouchableOpacity style={styles.button} onPress={getTime}> <Text style={styles.buttonText}>Get time</Text> </TouchableOpacity> {currentTime && ( <Text style={styles.welcome}>{currentTime.toTimeString()}</Text> )} </View> ); } } -
The next step is crucial in giving the App access to redux store:
 const ConnectedApp = connect(
   (state: ApplicationState): StateProps => ({
     currentTime: state.currentTime
   }),
   (dispatch: Dispatch): DispatchProps => ({
     getTime: () => dispatch({ type: Actions.GetTime })
   })
 )(App);
The connect() function is the key piece of react-redux api. It accepts multiple params, but for our use case we need the first two: mapStateToProps and mapDispatchToProps.
mapStateToPropsis the function mapping the application state to component properties, whilemapDispatchToPropsmaps action calls to the same component properties. Note how each of these two functions is typed using previously defined interfaces (StateProps and DispatchProps). -
Now that we have a connected App component, we have to make sure it is exported with a redux store instance. To do that, we’ll define a
makeApp()function:import { Provider } from "react-redux"; import createStore from "./store"; const makeApp = () => { const store = createStore(); return ( <Provider store={store}> <ConnectedApp /> </Provider> ); }; export default makeApp; -
And last step is to update the
index.jsfile. Instead of using directlyAppcomponent, it will usemakeApp()function instead:import { AppRegistry } from "react-native"; import makeApp from "./App"; import { name as appName } from "./app.json"; AppRegistry.registerComponent(appName, () => makeApp);
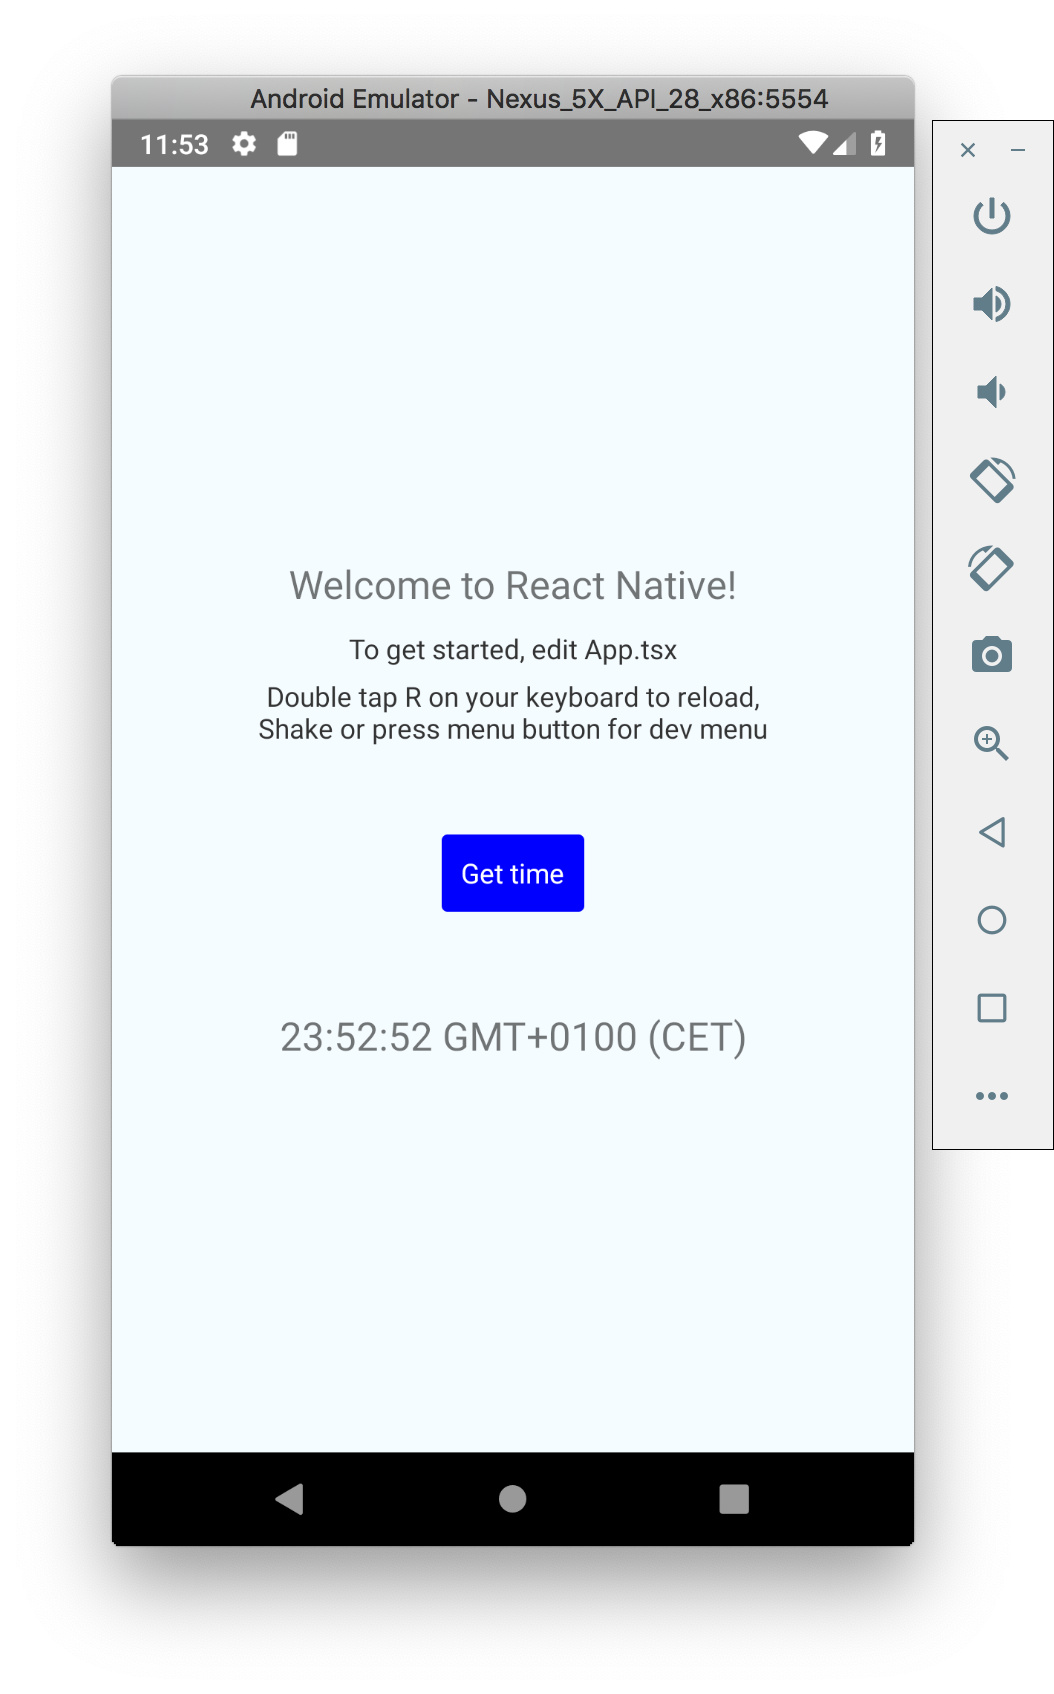
If all went well, then the app’s button should now work:
Use thunks
A thought may have crossed your mind that we’ve gone through awful lot of trouble to get the current time into the App view. Indeed we have, but in doing so we’ve managed to separate application state from react component, which is a good thing to do to keep you sane as your react application grows to many screens and components.
Similarly, adding thunk middleware may seem as a very round-about way of doing delayed or async actions. Why do we want to complicate our life with thunks, if having somethingAsync().then(...) in mapDispatchToProps() already does the job? The reason you’d want to use a middleware like thunks is to separate concerns and avoid repetition. Component should not care about implementation details of specific actions, like knowing which is async and which not. But read this great explanation by Dan Abramov - he explains is better than I ever could.
First thing to start with thunks is to add the dependency:
yarn add redux-thunk
It already contains types, so we don’t have to add a separate @types/redux-thunk dependency.
Next, let’s add another button which will fetch and show random quote of the day. To complicate things a bit, we’ll also fetch current weather. And we want to implement it in such way that the App component isn’t aware of actual actions implementation. Async or not, serial or parallel, the App component shouldn’t care.
We’ll begin by creating two files, actions.ts and types.ts, in order to have cleaner code. Let’s start with types.ts:
import { AnyAction } from "redux";
import { ThunkDispatch } from "redux-thunk";

export interface ApplicationState {
  currentTime: Date | null;
  dailyQuote: string | null;
  weather: string | null;
  error: string | null;
}

export enum ActionTypes {
  GetTime = "GET_TIME",
  GetQuote = "GET_QUOTE",
  GetWeather = "GET_WEATHER",
  Error = "ERROR"
}

export type ThunkDispatch = ThunkDispatch<ApplicationState, null, AnyAction>;
The file consists of three parts:
- We’ve moved the
ActionTypesenumeration fromstore.tsand expanded it with three new items: two actions types to fetch the daily quote and current weather, and also one for errors. - We’ve also moved and expanded the
ApplicationStateinterface. -
Finally, we’ve added type alias for
ThunkDispatch. The interface is defined as parametrized type withinredux-thunkdependency:export interface ThunkDispatch<S, E, A extends Action> { <T extends A>(action: T): T; <R>(asyncAction: ThunkAction<R, S, E, A>): R; }The parameters are for state (S), action (A) and extra argument (E) types. For our needs, we will use our
ApplicationState,AnyActionfrom thereduxdependency and nothing for extra argument. Type alias will help us declutter action functions.
Next is actions.ts:
import { ActionTypes, ThunkDispatch } from "./types";

export const getTime = () => ({
  type: ActionTypes.GetTime
});

export const getWeather = () => (dispatch: ThunkDispatch) =>
  fetch("http://wttr.in/Copenhagen?format=3")
    .then(request => request.text())
    .then(body => {
      dispatch({
        type: ActionTypes.GetWeather,
        weather: body
      });
    })
    .catch(e => {
      dispatch({
        type: ActionTypes.Error,
        error: e.message
      });
    });

export const getQuote = () => (dispatch: ThunkDispatch) =>
  fetch("http://quotes.rest/qod")
    .then(request => request.json())
    .then(body => {
      const [quote] = body.contents.quotes;
      dispatch({
        type: ActionTypes.GetQuote,
        quote: { message: quote.quote, author: quote.author }
      });
    })
    .then(() => dispatch(getWeather()))
    .catch(e => {
      dispatch({
        type: ActionTypes.Error,
        error: e.message
      });
    });
We have three actions:
getTime(), which is a simple redux action. The thunk middleware is not picky, so it works well with non-thunk actions.getWeather(), which is a proper thunk (function that accepts dispatch parameter and returns a promise). We try to fetch fromhttp://wttr.inand dispatch the result, or error in case the fetch fails.getQuote()which is very similar except that it callsgetWeather()after it is done. This is allowed and supported - one can dispatch actions within actions. Our approach here is serial dispatch, but we could also do it in parallel using for examplePromise.all()construct. Again, the actual implementation is neatly tucked away in this file, so that the App component doesn’t care how it’s done. Imagine having many components and many actions. By splitting up the logic this way, you can use and combine actions whichever way you want.
We also have to update our reducer, so let’s look at updated store.ts:
import { applyMiddleware, Reducer, createStore, Store } from "redux";
import thunkMiddleware from "redux-thunk";

import { ActionTypes, ApplicationState } from "./types";

const initialState: ApplicationState = {
  currentTime: null,
  dailyQuote: null,
  weather: null,
  error: null
};

const reducer: Reducer<ApplicationState> = (state = initialState, action) => {
  switch (action.type) {
    case ActionTypes.GetTime:
      return {
        ...state,
        currentTime: new Date(),
        error: null
      };
    case ActionTypes.GetQuote:
      const { message, author } = action.quote;
      return {
        ...state,
        dailyQuote: `${message} - ${author}`,
        error: null
      };
    case ActionTypes.GetWeather:
      return {
        ...state,
        weather: action.weather,
        error: null
      };
    case ActionTypes.Error:
      return {
        ...initialState,
        error: action.error
      };
    default:
      return state;
  }
};

export default (): Store<ApplicationState> =>
  createStore(reducer, applyMiddleware(thunkMiddleware));
Reducer is nothing fancy, we’ve just added handling of two new action types as well as error action type. We’ve also updated the createStore() call to apply the thunk middleware.
Last step is to update the App component:
import * as actions from "./actions";

class App extends Component<Props> {
  render() {
    const {
      currentTime,
      dailyQuote,
      weather,
      error,
      getQuote,
      getTime
    } = this.props;

    return (
      <View style={styles.container}>
        <Text style={styles.welcome}>Welcome to React Native!</Text>
        <Text style={styles.instructions}>To get started, edit App.tsx</Text>
        <Text style={styles.instructions}>{instructions}</Text>
        <View style={styles.buttons}>
          <TouchableOpacity style={styles.button} onPress={getTime}>
            <Text style={styles.buttonText}>Get time</Text>
          </TouchableOpacity>
          <TouchableOpacity style={styles.button} onPress={getQuote}>
            <Text style={styles.buttonText}>Get quote and weather</Text>
          </TouchableOpacity>
        </View>
        {error && <Text style={styles.error}>{error}</Text>}
        {currentTime && (
          <Text style={styles.welcome}>{currentTime.toTimeString()}</Text>
        )}
        {dailyQuote && <Text style={styles.welcome}>{dailyQuote}</Text>}
        {weather && <Text style={styles.welcome}>{weather}</Text>}
      </View>
    );
  }
}
const ConnectedApp = connect(
  (state: ApplicationState): StateProps => ({
    currentTime: state.currentTime,
    dailyQuote: state.dailyQuote,
    weather: state.weather,
    error: state.error
  }),
  {
    getTime: actions.getTime,
    getQuote: actions.getQuote
  }
)(App);
We’ve added the button as well as rendering of the quote and the weather. The interesting bit is in the connect() function. Note how the component doesn’t care anymore about specific action types. Even more: because our actions are functions that accept dispatch parameter (and we’re using thunk middleware), we can just pass them to connect() as object literal.
Final result
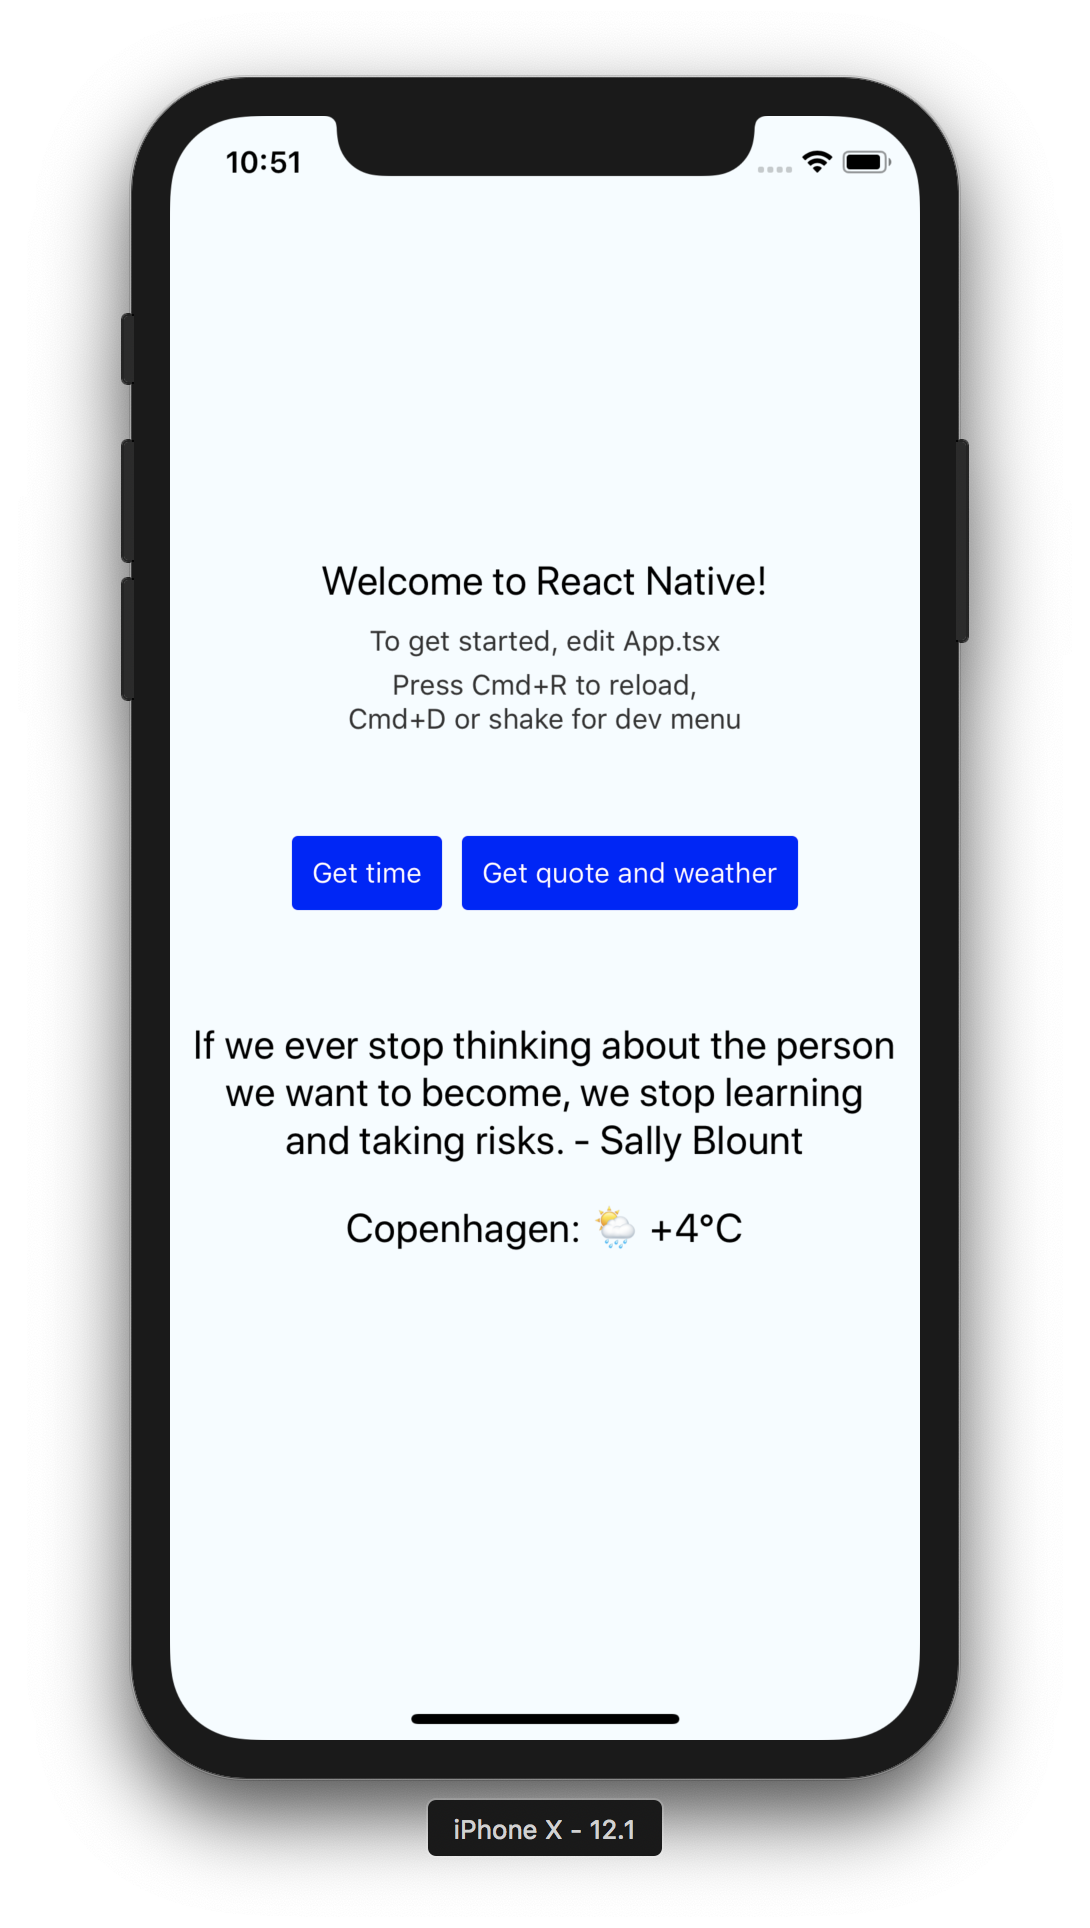
Whew, that was some work. Here’s the final result when clicking on the ‘Get quote and weather’ button (this time using iOS simulator):
To finish it off, here’s the Github repo of this project. Happy hacking!